
Table service
Floor-first ordering with seats, courses, and the kitchen in sync.
- What changes when you turn it on
- The service flow, start to finish
- Seats: Table, Shared, Split, and seat numbers
- Choosing how servers assign seats
- Allergies, by seat
- Courses: Send versus Fire
- The ticket never disappears
- Reading the floor at a glance
- Moving and combining tables
- The waitlist
- Guest checks and paying
- Splitting the check
- Handing a table to another server
- The New order button
- Paying while Table Time is running
- Reordering something already sent
What changes when you turn it on
Table Service is a Lite+ feature. Switching it on changes the shape of the register: it opens on your floor map instead of a cart, orders belong to tables rather than to the moment, and the ticket stays open through the meal.
The biggest single difference is where the money lives. In counter service the tenders sit on the ticket permanently – ring, pay, next guest. In table service the ticket carries Send, Send & Stay and Pay, and the tenders don't appear at all until someone taps Pay. If you've come from the Register chapter looking for the Cash button, that's where it went.
Everything else you already know still works. Same menu, same modifiers, same 86, same reports.
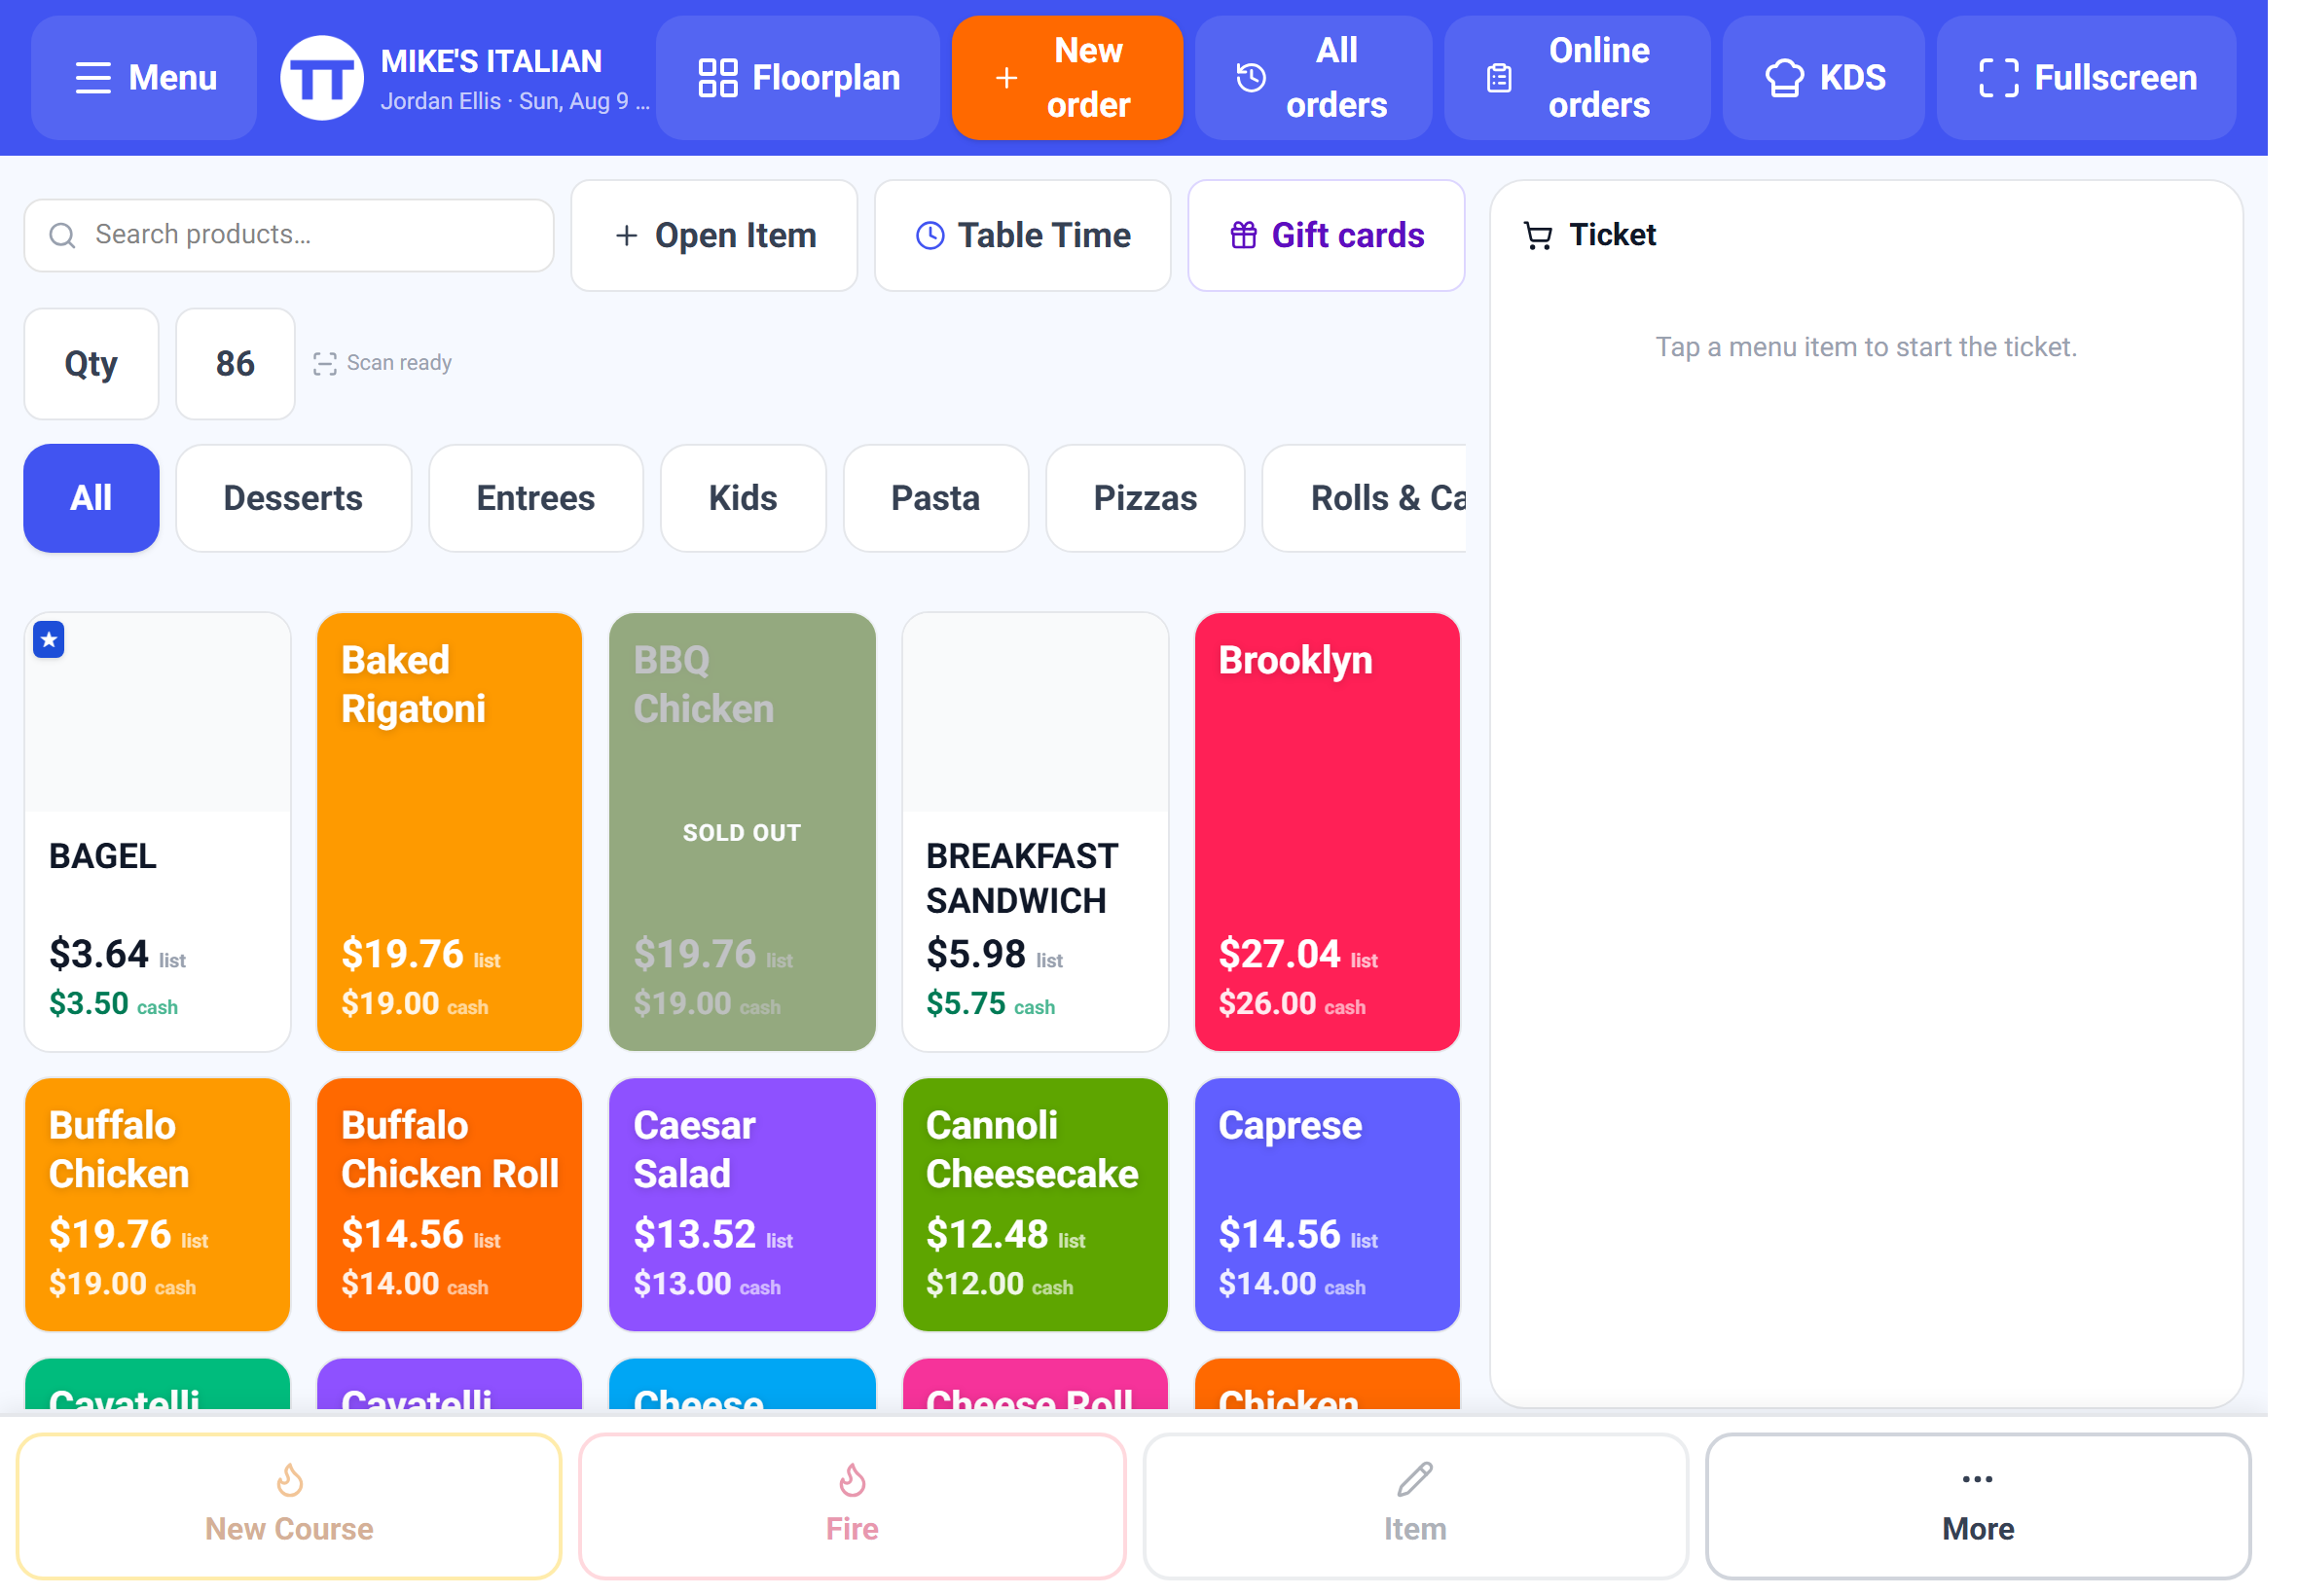
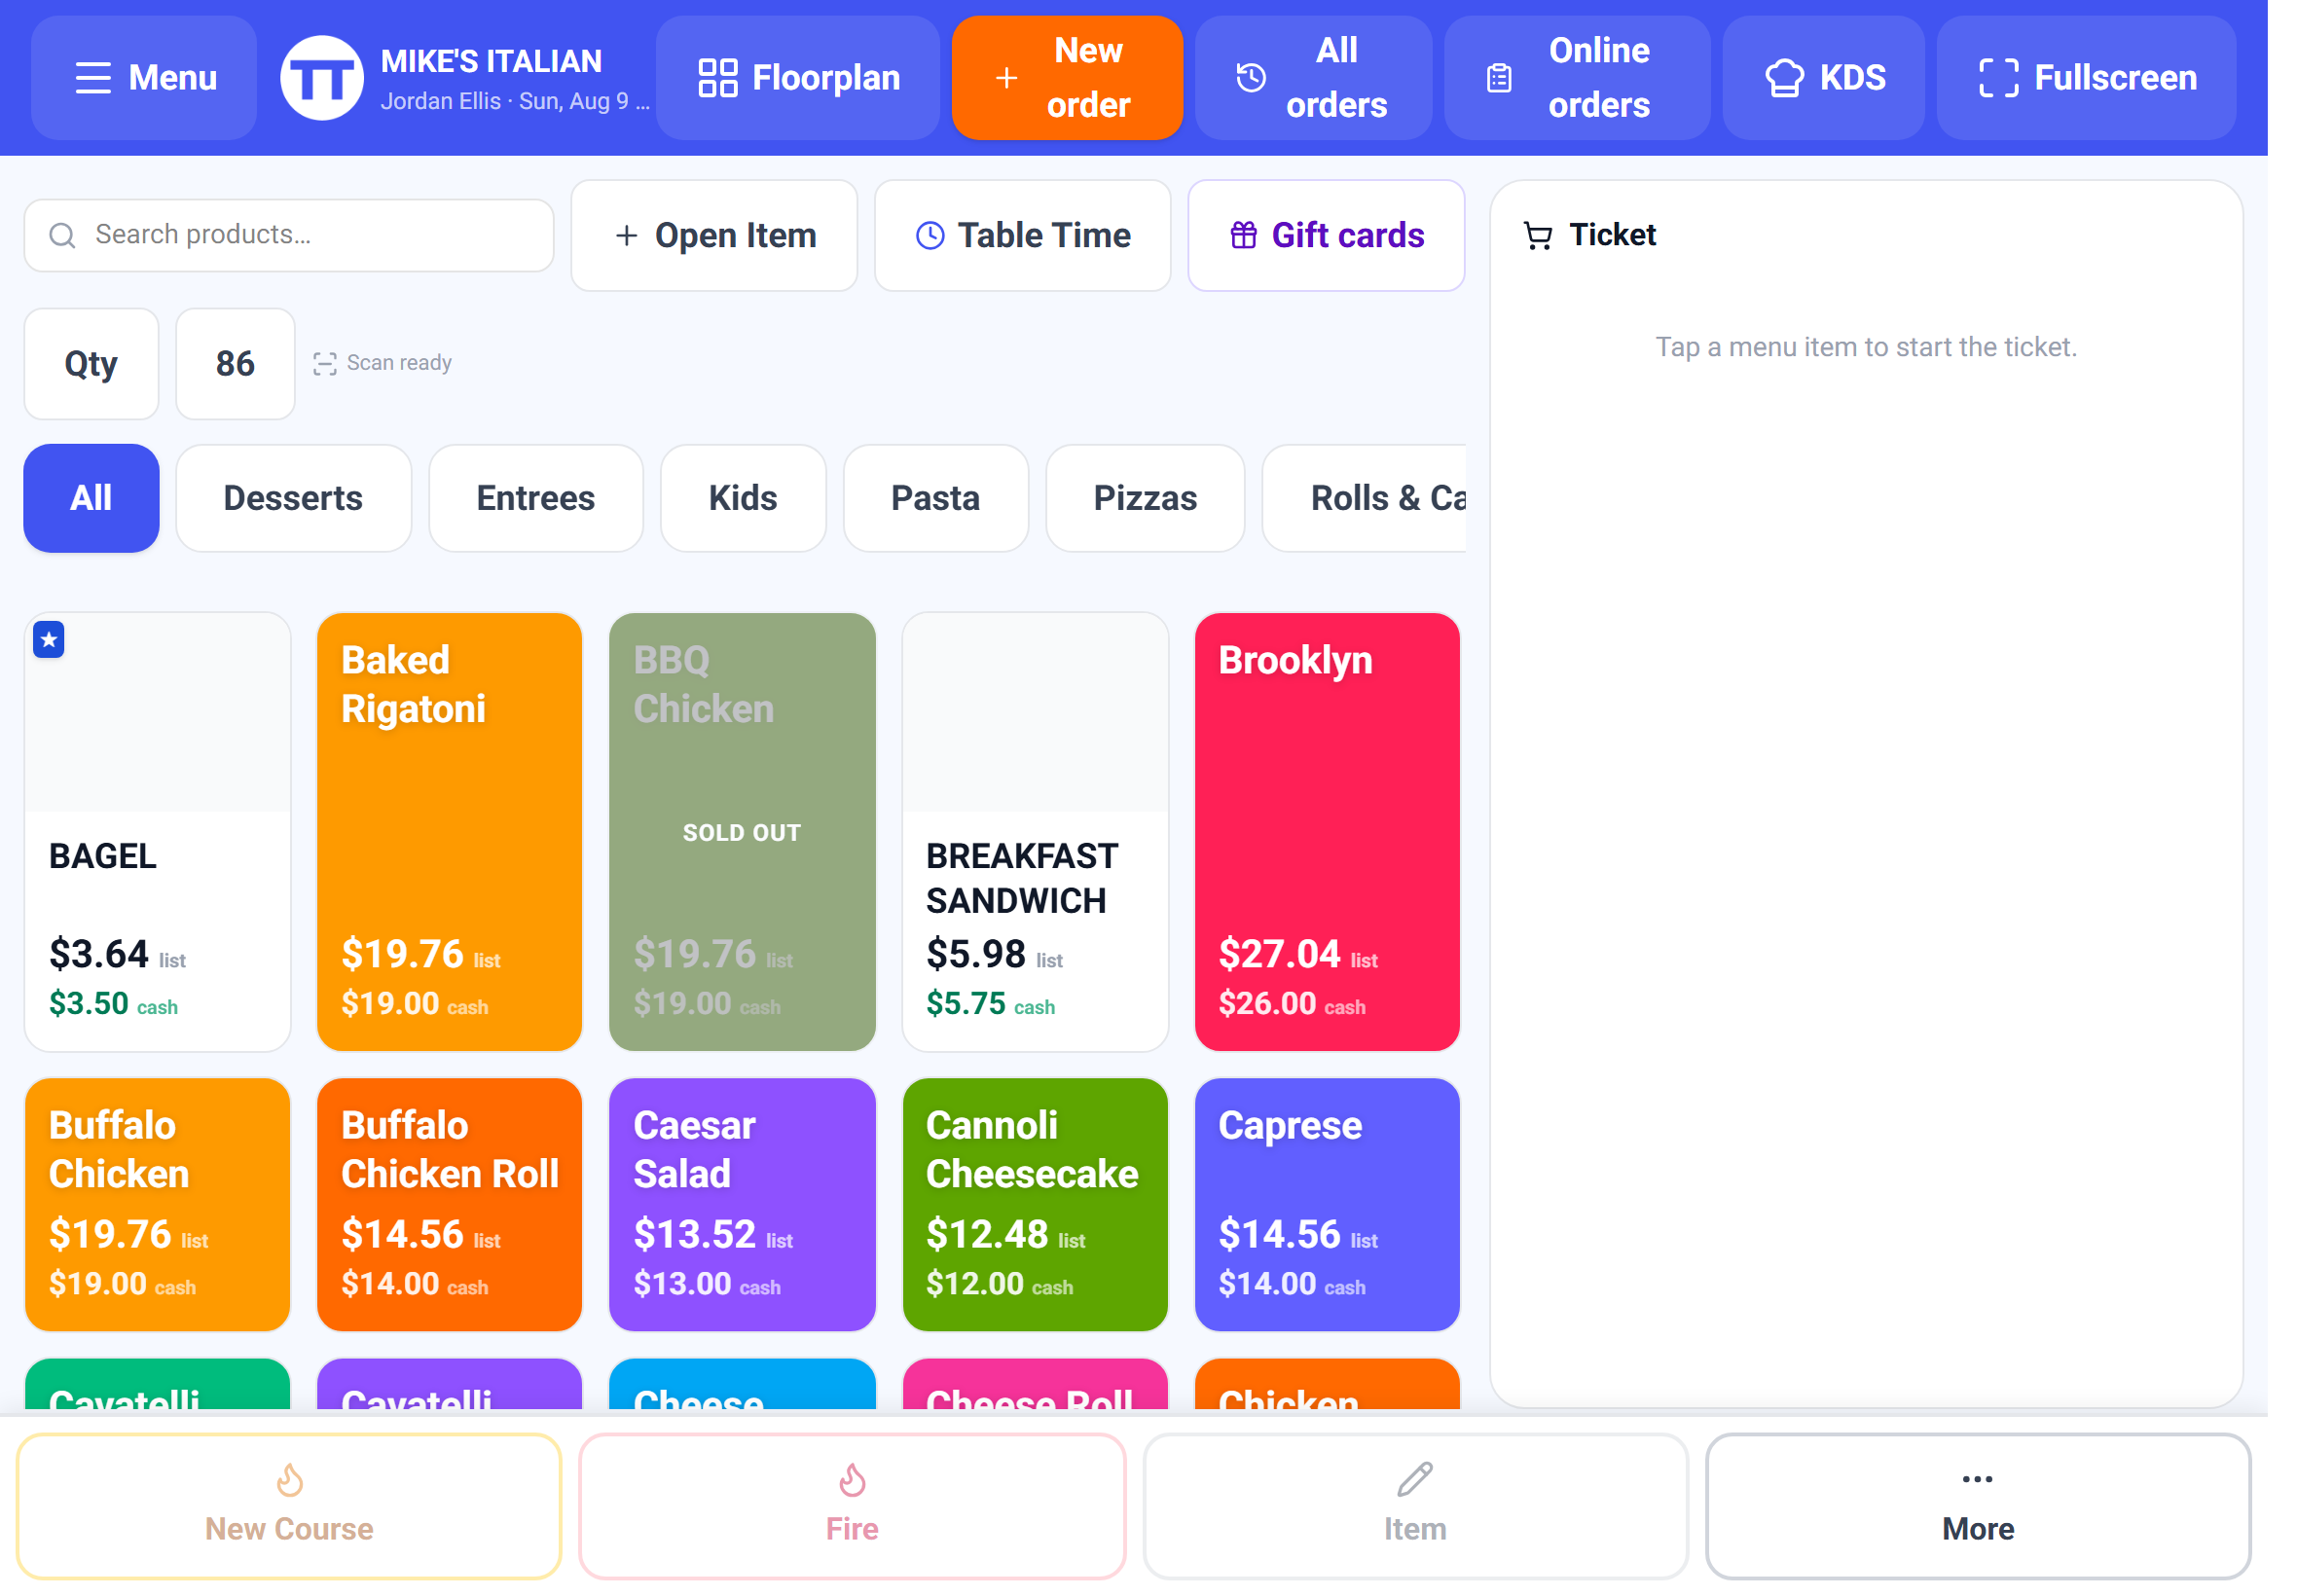
**Open the register on the floor map** is a separate setting. On, the register opens on the room and returns there after each sale. Off, it opens on the grid and Floor is a button in the top bar.
The service flow, start to finish
- 1Tap an open table on the floor.
- 2Fill in the Start the order sheet – order type, a name, and the guest count, depending on what you've turned on. Skip is there unless you've made the details required.
- 3Ring drinks and food. Items go on the current course.
- 4Send fires the items to the kitchen and drops you back on the floor to pick up the next table. Send & Stay fires them but keeps this ticket open so you can keep ringing.
- 5Come back to the table any time by tapping it – the ticket is exactly as you left it.
- 6When the guests are ready, tap the table, then Pay.
**Send** is the one to reach for on a busy floor. It saves the ticket to its table and puts you back on the room in one press, which is the loop you'll repeat a hundred times a shift.
Choosing how servers assign seats
Under settings, Table service → Seat assignment, you pick how the question gets asked. There are three modes and they suit genuinely different rooms.
Ask after each item pops a quick "who's this for?" sheet after every item. Best for training, or where accuracy on the check matters more than speed.
Seat rail only puts a persistent Seat row above the menu. The server picks the active seat once and rings everything for that guest, then moves on. Fastest in practice for an experienced floor.
Rail + ask per item shows the rail *and* asks. The default, and the safest starting point.
**Require seat assignment** removes the Skip button from the prompt, so nothing lands on a ticket unassigned. To-go orders never prompt regardless.
Allergies, by seat
Allergies are recorded per seat, not per table, because that's how they actually work – one guest at a six-top has the shellfish allergy, and the kitchen needs to know *which plate*.
On the seating prompt there's an Allergies button in the top-right. Tap it, tap the seat, pick that guest's allergens, and tap Allergies again to come back.
From then on, anything rung to that seat carries an ALLERGY: SHELLFISH tag onto the kitchen ticket automatically, and the seat gets a red dot on the seat rail so the server can see it without opening anything. Move an item to a different seat and the tags follow the move.
Because the tag is generated from the seat, a server who forgets to mention the allergy verbally still can't send an untagged plate. That is the entire point of recording it here rather than in a note.
Courses: Send versus Fire
These two words mean different things and the difference matters on the line.
Send means *the kitchen gets these items now*. It's how food reaches the board at all.
Fire means *the guests are ready for the next course, start it*. It doesn't send anything new; it tells the kitchen to begin cooking something already on the ticket.
Items ring into the current course; New Course starts the next one. Courses never have gaps – remove the last item of a middle course and the rest renumber.
- 1Ring the apps. Send – the kitchen starts them.
- 2Ring the entrées. They land on course 2 and sit there.
- 3When the apps are cleared, tap the course-2 header and choose Fire.
- 4On a KDS the table's ticket blinks red with a FIRE banner. On printers a separate fire slip prints.
Tapping a course header opens a sheet for just that course – orange **Send** and red **Fire**. If your house doesn't work in courses, turn **Coursing & firing** off in settings and the whole mechanic disappears, leaving plain floor-and-pay-later table service.
The ticket never disappears
A table's ticket is only ever cleared by paying it or voiding it. Nothing else empties it – not closing the register, not the tablet going to sleep, not the session expiring. Open tables live on the server.
Items already sent to the kitchen are marked and stay visible, so the ticket always shows the whole meal rather than just the part you haven't sent. Removing an already-sent item warns you, because the kitchen is already cooking it and the register can't reach in and stop them. (Automatic kitchen void tickets are a Pro feature.)
Clear unsent items removes only what hasn't gone to the kitchen. Void order kills the whole ticket and can be put behind a manager PIN.
Reading the floor at a glance
Colour is state, and it's the whole point of the floor view – you should be able to run the room without opening a single table.
Grey – Available. Blue – Seated, they're here but nothing has gone to the kitchen. Amber – Ordered, food is in. Purple – Check dropped, they're settling up.
Occupied tables also carry their party size, the running total, the server's name, and a live dine timer counting from the moment they sat down. Empty tables show their seat count instead.
A ring appears around a table that has been sitting a long time – amber at 45 minutes, red at 90. A forgotten table announces itself instead of being discovered.
Moving and combining tables
Parties move. They get seated at a two-top and a four-top opens up; two couples who know each other decide to sit together. Both are one control.
- 1Tap Move / merge in the floor header. It turns purple and a banner explains the step you're on.
- 2Tap the table you want to move. Only occupied tables can be the source, so empty ones dim.
- 3Tap an empty table to move the party there. The ticket, the guest count, the server and the dine timer all go with them.
- 4Tap an occupied table instead to merge. You'll get a confirmation naming both tables, because this combines two checks into one and frees the source table.
Kitchen tickets already printed keep the old table name – paper can't be recalled. Anything sent after the move carries the new one, so tell the expo once and it sorts itself out.
The waitlist
Waitlist in the floor header handles walk-ins without a paper list or a pile of buzzers. The button badges how many parties are waiting.
- 1Tap Waitlist, then add the party: guest name, mobile number, party size, and a quoted wait.
- 2The list shows how long each party has actually been waiting, so the quote can be checked against reality.
- 3When a table frees up, notify them. If you took a mobile number they get a text – *"Your table at Mike's Italian is ready – please see the host"* – and the entry is marked notified either way.
- 4Tap Seat on their entry – a green banner says "Tap the table for Dana (party of 4)". Tap the table and their order starts with the party size already filled in, and they come off the list.
The mobile number is what makes this better than a paper list, so take it. A party with no number still tracks fine – you just have to go and find them.
Guest checks and paying
Print the check hands the guests an itemized pre-check. With dual pricing on it shows both the card and cash totals, so the guest can choose before you run anything. Print checks by seat does one per seat when everyone's paying for themselves.
Pay flips the register into its payment view: the ticket on the left, the split controls and check cards on the right. Cash, card, gift and split all live there.
Paying frees the table on the floor. Walk-ins and to-go orders work with no table at all – New order · To-Go in the floor header starts one.
Opening Pay turns the table purple on the floor, so anyone glancing at the room can see which parties are settling up. That's a real scheduling signal for whoever's seating.
Splitting the check
Splitting happens on the Pay screen and produces real separate sales – you are not carving up one payment afterwards, you're running several.
One check is the default. Evenly divides the total across a number of checks. By items starts from the seats you already assigned and lets you move things: tap an item, then tap the check it belongs on. + Check adds another.
- 1Tap Pay, then choose how to split.
- 2Move any items that landed on the wrong check.
- 3Charge each check as its guest is ready. Each takes its own card, cash or gift payment, with its own tip.
- 4A paid check turns green and drops out of the remaining balance.
Once a check is paid the split **locks**, so the rest of the table can't be reshuffled underneath money that already ran. A half-paid table is safe to leave and come back to.
Handing a table to another server
Transfer server under More on the Pay screen hands the table over – at a shift change, or when someone goes on break mid-meal. The table's tile on the floor updates to the new name.
The picker only lists servers who are clocked in. You can't hand a table to someone who isn't on shift, which is the correct behaviour and occasionally a surprise: if the person you want isn't listed, they haven't punched in yet.
Paying while Table Time is running
If a Table Time timer is still running on a ticket, Pay opens a modal instead of charging – closing the check now would drop the timed-rental revenue.
Stop & add, then Pay stops the timer, rings the time onto the check, and continues straight into payment – one tap. Remove (no charge), then Pay drops the timer without charging (put it behind a manager PIN in settings if you want that accountable) and continues.
Reordering something already sent
Tap a sent line and hit Reorder – the register rings a *fresh* line for the same item, modifiers and seat, ready to send. The original stays untouched with its sent mark, because the kitchen already has it.
Send lights up with the amber count badge the moment the new line lands, and fires only the new item.